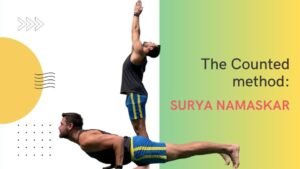
Virabhadrasana A & B: Understanding the Count and Its Flow
Virabhadrasana A & B: Understanding the Count and Its Flow
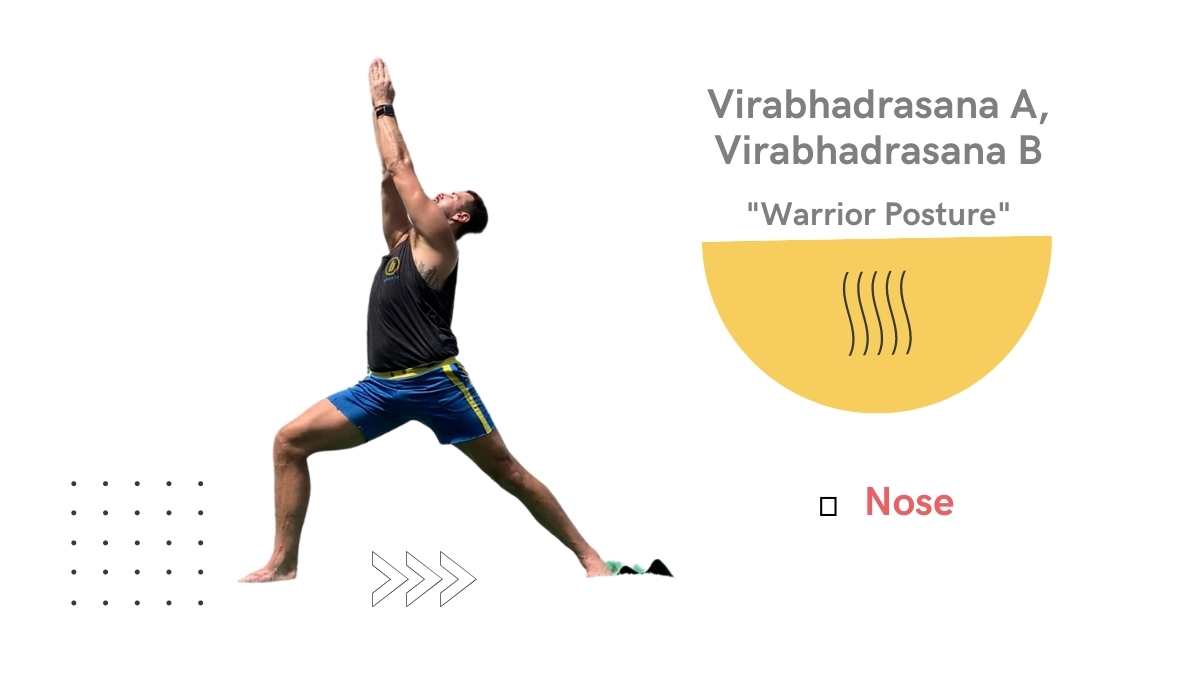
Virabhadrasana, or Warrior Pose, is essential in Ashtanga yoga. Warriors A and B are powerful standing poses that combine strength and stability. They help us ground ourselves while opening our hearts.
The Flow of Movements
Warrior A and B involve a sequence of movements. There are 14 key actions to remember during practice:
| Movement Count | Sanskrit | Action |
|---|---|---|
| 7 | SAPTA | Inhale, right side Virabhadrasana A |
| 8 | ASTAU | Exhale, left side Virabhadrasana A |
| 9 | NAVA | Inhale, right side Virabhadrasana B |
| 10 | DASA | Exhale, left side Virabhadrasana B |
| Exhale, hands down | ||
| 11 | EKĀDASA | Inhale, up |
| 12 | DUADASA | Exhale, Chaturanga |
| 13 | TRAYODASA | Inhale, Upward-Facing Dog |
| 14 | CATURDASA | Exhale, Downward-Facing Dog |
This count is crucial for timing your breath with movements. It helps maintain a steady rhythm throughout your practice.
Anatomy of the Pose
In Warrior I, stillness is achieved through active engagement of various muscle groups. The front hip flexors are at work, while the back hip extensors stabilize the pelvis. Your chest opens up towards the sky, creating an upward lift.
Balancing these opposing forces prepares the body for energy release. Think of it like a sprinter poised at the starting line, ready to move at any moment.
Placing Warrior I after Parsvottanasana helps transition from folding forward to expanding upward, making the sequence more cohesive.
Basic Joint Positions
Here are some key positions to remember:
- Back Foot: Turned inward 30 degrees
- Front Foot: Turned out 90 degrees
- Back Hip and Knee: Extended
- Front Hip and Knee: Flexed
- Shoulders: Flexed overhead
- Elbows: Extended
- Back: Extended
- Cervical Spine: Extended
Aligning these positions creates a solid foundation for the poses.
Engaging the Body
Engaging your muscles correctly is essential. Here’s how you can activate different parts of your body:
Pelvis and Legs
- Engage the gluteus maximus to stabilize the pelvis.
- Activate your quadriceps to support your front leg.
- Use the tibialis anterior to press your heel into the floor.
Trunk
- Lift your chest by engaging the erector spinae muscles.
- Protect your lower back by activating the rectus abdominis.
Shoulders and Arms
- Lower the trapezius draws your shoulders down the back.
- The serratus anterior helps stabilize your shoulder blades.
Preparation Steps
-
Set Your Hips: Turn your hips toward the front leg. Activate your back leg’s muscles.
-
Create Stability: Engage the muscles along the back of your body to ensure a strong base.
-
Lift Your Upper Body: Contract your shoulders and arms to rise from your pelvis.
-
Open Your Chest: Draw your shoulders down your back and stabilize your shoulder blades.
-
Complete the Expansion: Use the pectoralis minor and serratus anterior to lift your chest further.
By following these steps, you can achieve a well-aligned and powerful Warrior A and B.
As you practice, focus on how each movement flows into the next. Feeling connected to each part of the pose enhances your experience in both Warrior A and B.
For a deeper dive into the posture count and technique, you can check out the detailed study guide here.
These poses offer a unique opportunity to explore strength and grace. With consistent practice and attention to detail, you will develop a grounded presence on your mat and off.
